Delete Blank Cells within an Excel Workbook
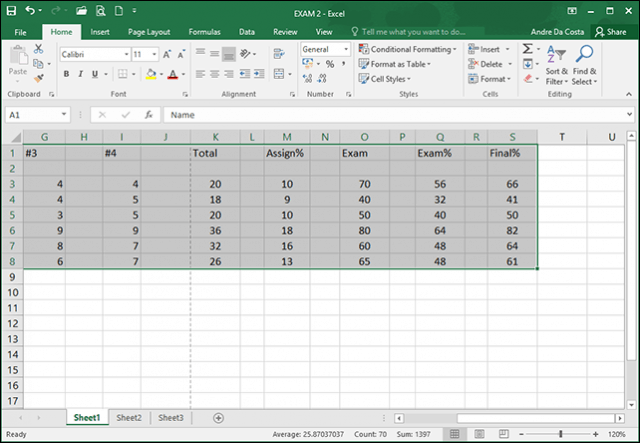
The screenshot below displays a workbook with data in multiple columns. Between each column, there are blank cells; those are the cells I want to delete. To do so, highlight just the range of data containing the blank cells.
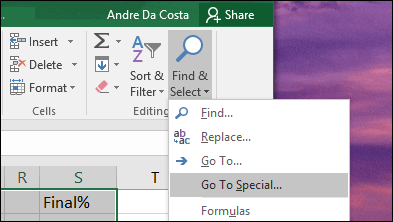
Under the Home tab > Editing group, click Find & Select and then click Go To Special.
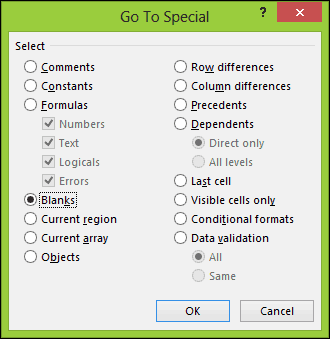
Choose the Blanks radio box and click OK.
You’ll see that Excel made a non-adjacent selection of all the blank cells in the spreadsheet. This makes it easy to delete the cells you don’t want.
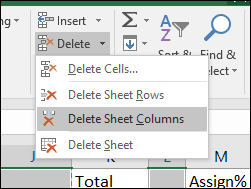
From the Home tab, under the Cells group, click Delete and then choose whether you want to delete the blank cells in rows or columns. In my case, I want the empty columns removed.
That’s it! Now your workbook looks better.
Using Excel for Mac
If you use the Mac version of Excel, you can find this function under Edit > Find > Go to.
Now, in the Go To screen, click the Special button.
Then select the Blanks radio box and click OK.
That’s all there is to it! This makes it much easier to create cleaner spreadsheets and workbooks for your boss. Also, you’re running an older version of Excel, be sure to read our previous article on removing empty cells in Excel 2010 or 2007. Comment Name * Email *
Δ Save my name and email and send me emails as new comments are made to this post.


![]()
